Rusty fuse box on 63

All Models and Years
Datsolow
Posts: 159
Joined: Fri Jul 17, 2015 1:41 am

Rusty fuse box on 63

Post by Datsolow »

:helpsos: Hi all , well engine finally in and on the key.
It’s been 5yrs only issues no lights inside or outside, the fuse box is really corroded. Anyone have a solution to remove rust as I want to keep original.
Also a layout of which fuse does what .
After a fiddle I did get one tail light to work briefly.
All best Paul 🇬🇧
User avatar
bbodie52
Corvair of the Month
Posts: 11982
Joined: Mon Aug 06, 2012 12:33 pm
Location: Lake Chatuge Hayesville, NC
Contact:

Re: Rusty fuse box on 63

Post by bbodie52 »

Image
ImageI would recommend starting in the engine compartment — near the battery. Assuming you have a fresh battery, start by having a good look at the ground cable. The inside of the ground cable battery connector and the battery post should be cleaned with a terminal cleaner wire brush. The same goes for the positive cable. The thick. heavy gauge ground cable must be connected to BOTH the car chassis AND the engine. An engine connection or a chassis connection alone is not enough, because the engine and transaxle mounts isolate the chassis from the engine using a rubber isolation design to block engine vibration from being transmitted to the car. This rubber also isolates the engine electrically from the chassis, so a ground cable connection must be made to both the engine and the chassis to restore full electrical connectivity from the battery to both the chassis and the engine.

Image

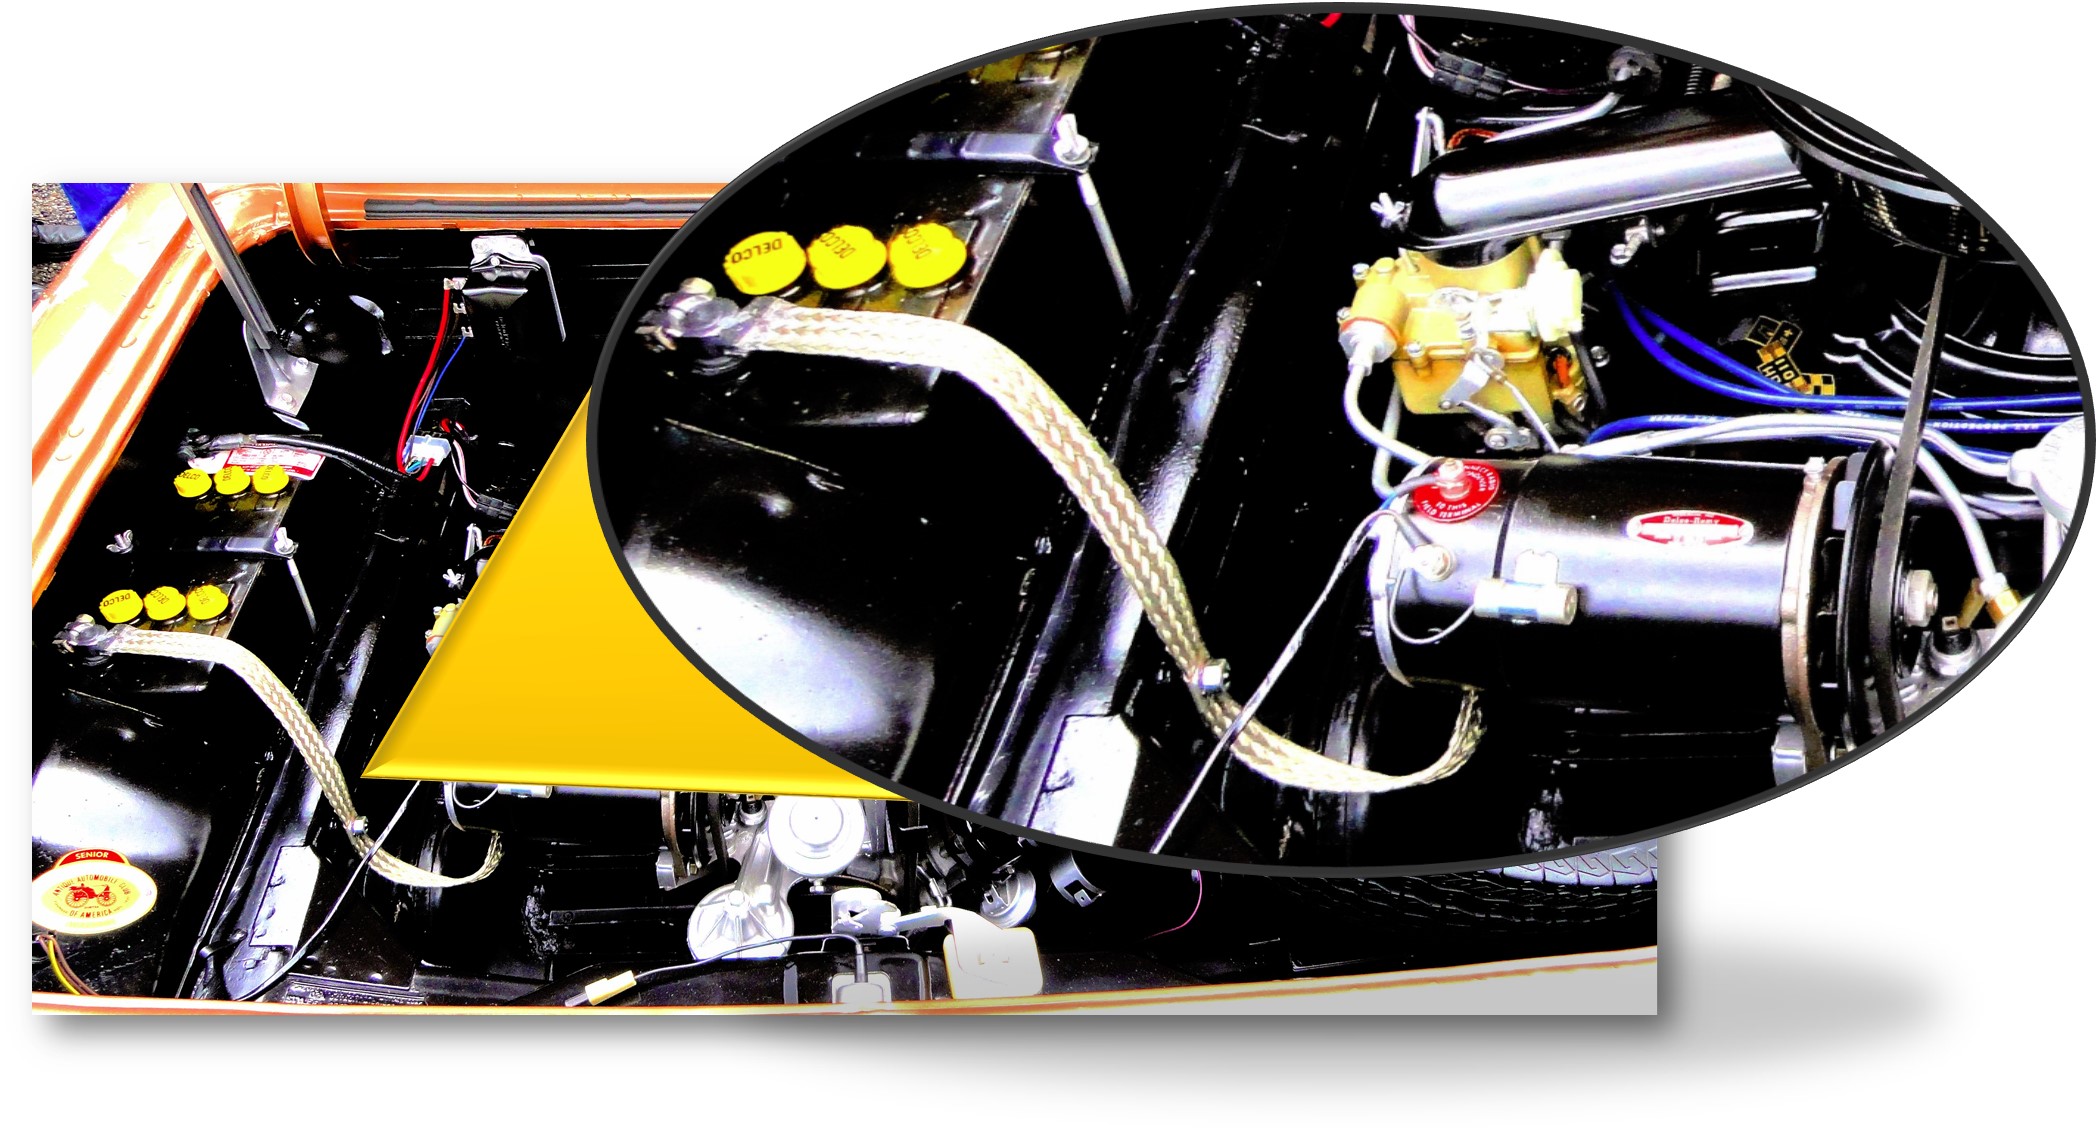
Have a good look at the enlarged engine compartment portion of the schematic wiring diagram. Since the starter motor draws more electrical current than any other device in the car, the thick positive cable connects directly to the starter solenoid. THE OTHER POSITIVE BATTERY CABLE WIRE IS TIED DIRECTLY TO THE GENERATOR VOLTAGE REGULATOR, AND THEN CONTINUES ON VIA A SINGLE 10 GAUGE WIRE TO THE 8-WIRE MULTICONNECTOR IN THE ENGINE COMPARTMENT. THIS SINGLE WIRE PROVIDES POWER TO EVERY OTHER ELECTRICAL DEVICE IN THE CORVAIR! If you continue to follow that wire toward the instrument panel/dashboard area, you will see that it makes its way to a wiring harness junction point, and on to the ignition switch, the fuse block, and in some cases directly to other switches and devices without passing through the fuse block.

So the 8-wire engine compartment multiconnector becomes the first point of possible power disruption for the remainder of the car. Even when both halves of the plastic multiconnector appear to be seated together tightly, the individual metal pins inside the connector may not be making a good electrical connection. The multiconnector is subjected to age, heat, moisture, and vibration for many years. The metal pins inside may get corroded, damaged, or bent, which can disrupt the electrical connectivity so that electrical current will not pass through.

For example, the thick 10 gauge black wire that is routed to the multiconnector from the voltage regulator connection is supposed to pass through the multiconnector and then travels to an unfused junction point in the harness. From there one of the wires is connected directly to the main light switch — where power is distributed to the lighting system throughout the vehicle. This power does not pass through the fuse block, so even though your fuse block is corroded and aging, its condition does not impact many of the vehicle lights! However, power to the brake light switch and via the turn signal flasher does come from the fuse block, and is then routed to the turn signal switch on the steering column. The ignition switch also does not control most lighting, but does impact te turn signal flasher. So if your headlights and tail running lights are not working, you must look to the harness connectors, wiring, and light switch for the cause. Tracing each circuit on the schematic diagram reveals the operation of each circuit, the understanding of which is essential for effective troubleshooting and fault isolation.


ImageImageImage


Image

Left-click the image to enlarge it for better viewing or "Pan & Scan". Click a second time for maximum enlargement...
1963 Corvair Passenger Car Combined Schematic
==================================================================================================

Image
CORVAIR COMBINED WIRING SCHEMATIC DIAGRAMS
:link: viewtopic.php?t=12968


Image


Image


Image :link: https://ssl.corvair.com/user-cgi/catalo ... _page=MK-7
Clark Electrical Harness Kits.jpg
:link: https://ssl.corvair.com/user-cgi/catalo ... ow_page=97

M&H manufactures wiring harnesses that are sold by Clark's Corvair Parts. Their catalog and contact information is shown below...
66vairguy wrote: » Thu Sep 03, 2015 12:46 pm

I'm an electrical person and I just wanted to say I had a great experience with M&H Electrical Fabricators in the Los Angeles area...

...Clark's sells M&H wiring harnesses and as far as I can determine M&H is the ONLY supplier that makes ALL the Corvair harnesses, even the one wire with connectors for the Spyder/Corsa thermistor (drives the temperature gauge).

I stopped by M&H's place of business and they were very helpful (I'm modifying one of their harnesses) and knowledgeable. I've used their harnesses in both my cars and fit and function is excellent.

M&H makes harnesses for lots of cars, but there commitment to the Corvair is worth noting. There are other suppliers, but over the years I've seen a number of so called "Corvair" wire harnesses from other suppliers that were incorrect or badly assembled that caused owners problems.

:link: http://www.wiringharness.com/


Image
Mailing Address:

M&H Electric Fabricators, Inc.
13537 Alondra Blvd.
Santa Fe Springs, CA 90670

TELEPHONE
Sales and Customer Service: (562) 926-9552
Technical Support: (562) 926-9562

e-Mail Address: sparky@wiringharness.com
M&H Corvair Wiring Harness Catalog (2021).pdf
M&H Corvair Wiring Harness Catalog (2021)
(973.16 KiB) Downloaded 25 times
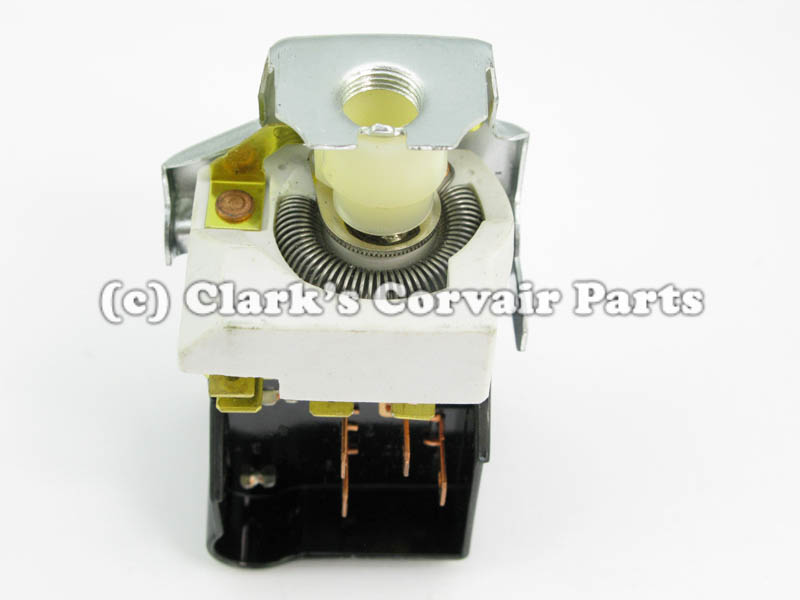
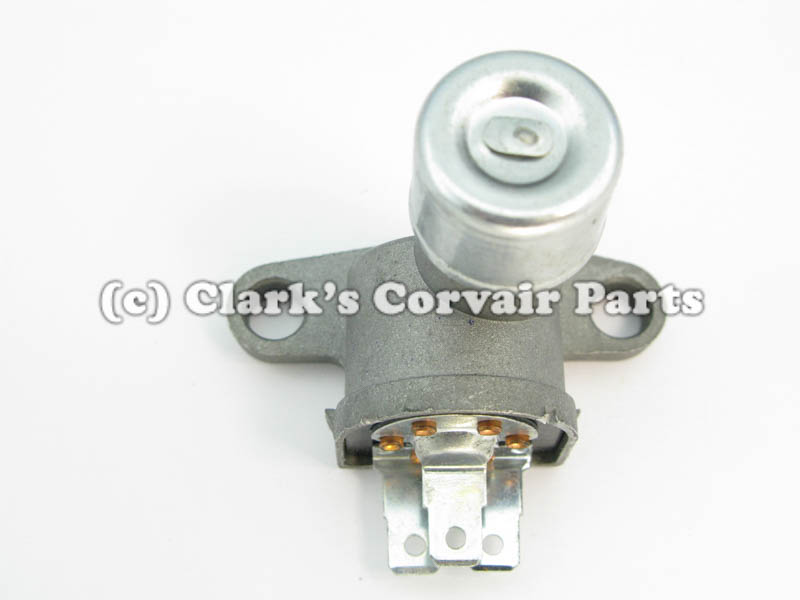
Most rear circuits route through the engine compartment multi-connector (below the voltage regulator, near the firewall). The number of metal connector pins inside depend on the Corvair model year, ranging from 8-12 pins. This rear multi-connector is a common source of trouble, as it is subjected to age, vibration, heat, and moisture for many years. Even when the outer plastic shell halves appear to be tightly connected, the internal metal pins may not be providing good electrical connectivity, as they may be loose, dirty, corroded, or bent.

:link: 
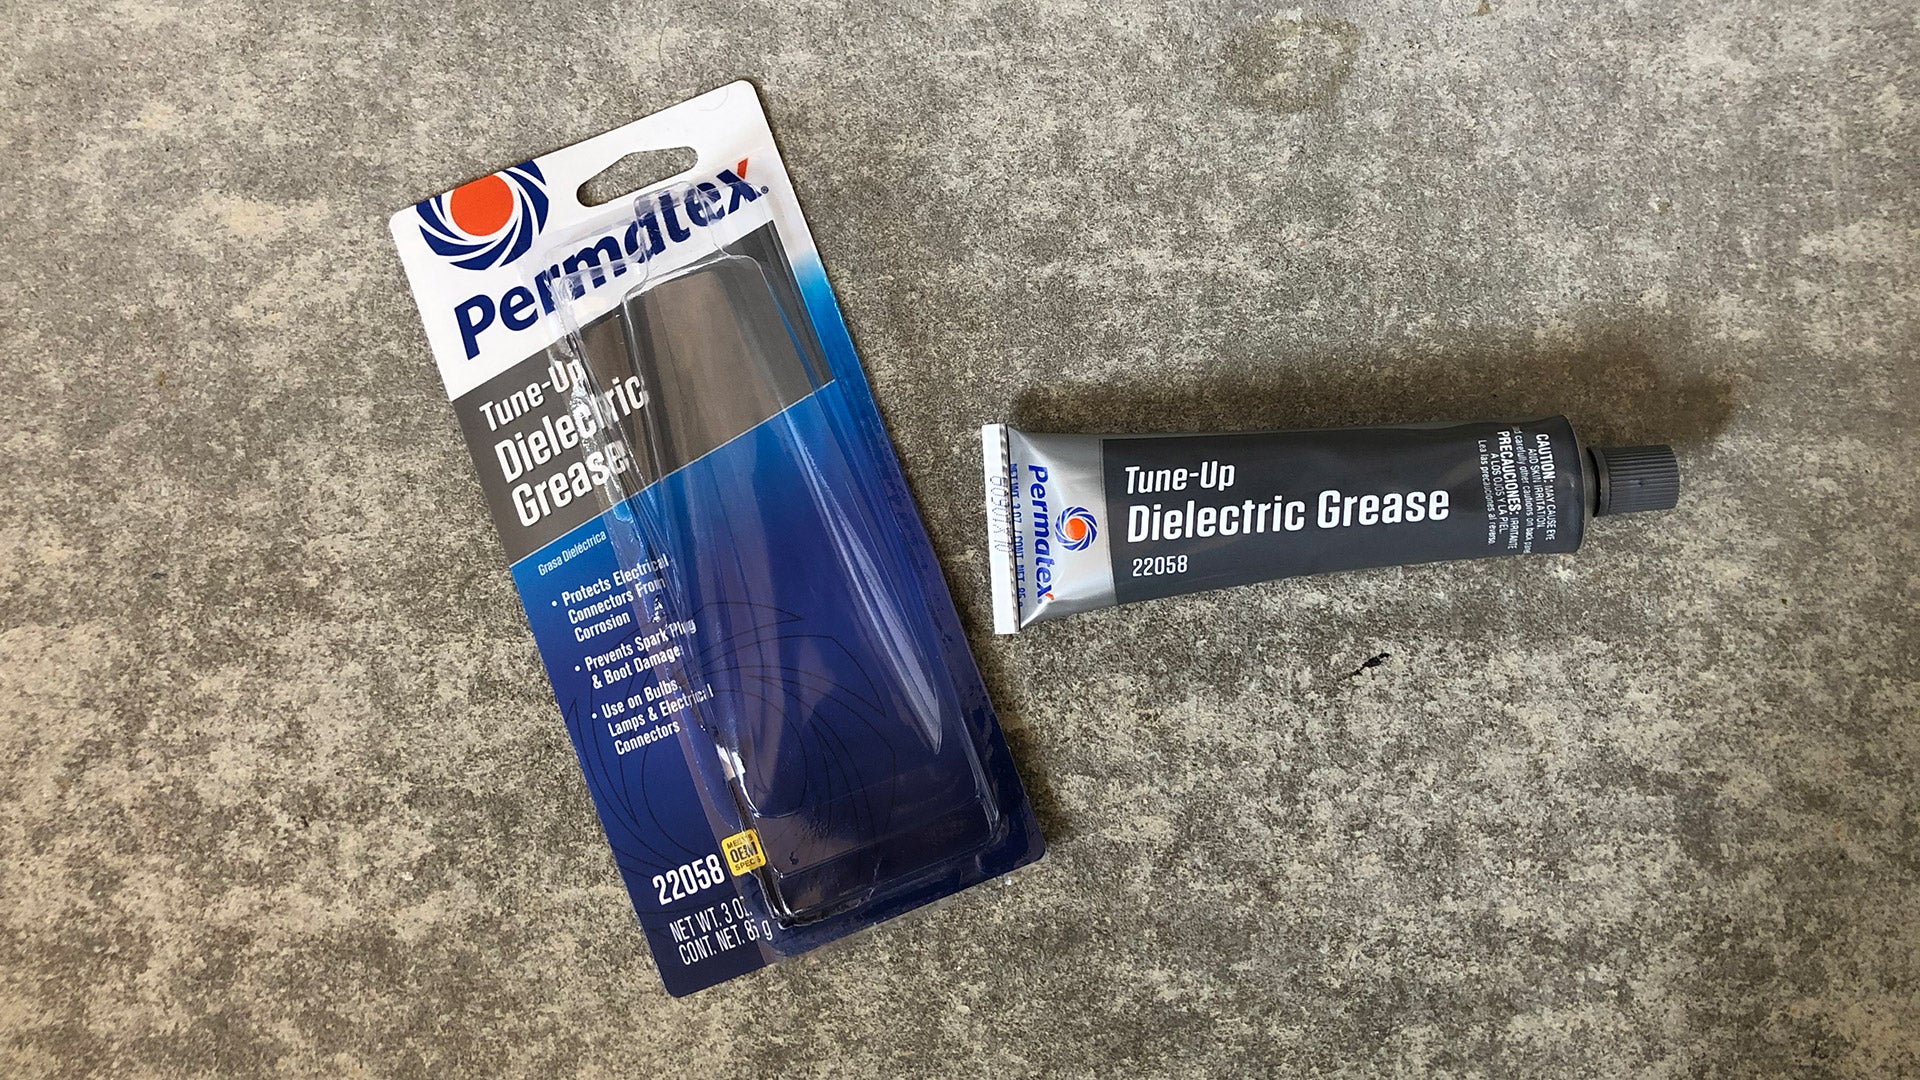
https://www.amazon.com/Permatex-22058-D ... ric+grease
Permatex 22058 Dielectric Tune-Up Grease, 3 oz. Tube

Image
Image


What The Heck Is Dielectric Grease?
And is it necessary?
BY TONY MARKOVICH MARCH 2, 2021


Image

:link: https://www.thedrive.com/maintenance-re ... ric-grease


:chevy:
1962-1963 Supplement - Chevrolet Corvair Shop Manual - Section 8 - Electrical Systems.pdf
1962-1963 Supplement - Chevrolet Corvair Shop Manual - Section 8 - Electrical Systems
(2 MiB) Downloaded 30 times
Brad Bodie
Lake Chatuge, North Carolina
Image 1966 Corvair Corsa Convertible
User avatar
bbodie52
Corvair of the Month
Posts: 11982
Joined: Mon Aug 06, 2012 12:33 pm
Location: Lake Chatuge Hayesville, NC
Contact:

Re: Rusty fuse box on 63

Post by bbodie52 »

Also, I would recommend purchasing an inexpensive multimeter (analog is sometimes easier to use in the automotive world than digital) so that your electrical troubleshooting will not be a series of guessing games and work to try to correct a fault that has a specific multimeter-revealed and measured cause rather than what you imagine to be fact. A multimeter lets you actually see what is going on with an electrical circuit, by testing for the presence or absence of voltage where it should be and verifying that the voltage is at the expected and correct level. Observation has its place in troubleshooting automotive problems, but with an electrical circuit it is important to know and understand how and why a circuit works normally, and then look (with a meter) to see where the deviation from normal is.

A multimeter like the one below runs about $22 and has many decent customer reviews. It will get the job done on your car without being too complex, feature-laden, or expensive...
Image
:link: https://www.amazon.com/Gardner-Bender-G ... s9dHJ1ZQ==
Brad Bodie
Lake Chatuge, North Carolina
Image 1966 Corvair Corsa Convertible
Datsolow
Posts: 159
Joined: Fri Jul 17, 2015 1:41 am

Re: Rusty fuse box on 63

Post by Datsolow »

Thankyou for replying
Dash controller first notch :

Rear side lights work & foot brake work
Dash lights and dimmer work
Petrol gauge work
Wipers work

Front lights not working

Dash controller 2nd notch :

Rear side lights work & foot rake work
Dash and dimmer work
Petrol gauge work
Wipers work

Fronts not working

Is there a sketch for which pins of engine plug control head lights / side lights?

All best Paul 🇬🇧
Datsolow
Posts: 159
Joined: Fri Jul 17, 2015 1:41 am

Re: Rusty fuse box on 63

Post by Datsolow »

Forgot to add indicators work

All best from 🇬🇧
Datsolow
Posts: 159
Joined: Fri Jul 17, 2015 1:41 am

Re: Rusty fuse box on 63

Post by Datsolow »

Just looking at the front headlights inward wires how does the dash switch receive power from loom?
User avatar
bbodie52
Corvair of the Month
Posts: 11982
Joined: Mon Aug 06, 2012 12:33 pm
Location: Lake Chatuge Hayesville, NC
Contact:

Re: Rusty fuse box on 63

Post by bbodie52 »

Petrol gauge...
:confused:

Image
:dontknow: :think:
Is petrol a gasoline?

Answer: gasoline, also spelled gasolene, also called gas or petrol, mixture of volatile, flammable liquid hydrocarbons derived from petroleum and used as fuel for internal-combustion engines.
:tongue: :rolling:

Sorry -- sometimes I'm just tempted to comment on language differences... ::-):
Datsolow wrote: » Tue Mar 15, 2022 2:27 pm

Just looking at the front headlights inward wires how does the dash switch receive power from loom?
Image

Here is another schematic detail, this time from a 1962 Corvair. The drawing is a little better and shows the wire color code and gauge designated as "14 R" (14 Gauge RED wire color) connecting from the harness wire junction point to the light switch input. FROM THE ENGINE COMPARTMENT MULTICONNECTOR TO THE WIRING HARNESS JUNCTION POINT, THE MAIN FEED WIRE IS LABELED "10 B" (10 Gauge BLACK wire color).
Image

Image
60-63 HEADLIGHT SWITCH

Image
64-69 HEADLIGHT SWITCH


Power Path to Light Switch.jpg
Power Path to Light Switch (1962).jpg
Brad Bodie
Lake Chatuge, North Carolina
Image 1966 Corvair Corsa Convertible
Datsolow
Posts: 159
Joined: Fri Jul 17, 2015 1:41 am

Re: Rusty fuse box on 63

Post by Datsolow »

:tu: Thankyou all I’m on it rain stops play so tomorrow it is
Datsolow
Posts: 159
Joined: Fri Jul 17, 2015 1:41 am

Re: Rusty fuse box on 63

Post by Datsolow »

49C1FF29-778E-4CDD-9843-7C20F49DC43F.jpeg
108FFA7E-05BB-4514-91CA-AF315FE1A1C7.jpeg
Bottom pic off loom connection drivers side back of frunk.
Anyone have an idea of which controls which headlamp?

Other image of fuse holder again which does what ?

If I’m correct does power to headlights go straight to switch with no fuse?

Ignore red Bodge cable = me testing connection

Best regards Paul 🇬🇧
User avatar
bbodie52
Corvair of the Month
Posts: 11982
Joined: Mon Aug 06, 2012 12:33 pm
Location: Lake Chatuge Hayesville, NC
Contact:

Re: Rusty fuse box on 63

Post by bbodie52 »

Image

If you examine the trunk schematic, you will see that the wires labeled 18T (High Beam) and 18LG (Low Beam) cover both pairs of headlights. The shape of the square plug should help you to match the wire locations. The floor dimmer switch controls headlight connectivity. Power to the headlight switch is unfused, as is the power to the horn relay to power the horns.


1963 Corvair Passenger Car Combined Schematic
1963 Trunk Wiring Harness

There is only one group of three metal connectors side-by-side on the right side, with the top (18T - High Beam) and middle (18LG - Low Beam) connector associated with the headlights. The bottom-right connector should be a thicker, 14 Gauge Red wire that provides horn power to the horn relay.
Image


Image
Brad Bodie
Lake Chatuge, North Carolina
Image 1966 Corvair Corsa Convertible
Datsolow
Posts: 159
Joined: Fri Jul 17, 2015 1:41 am

Re: Rusty fuse box on 63

Post by Datsolow »

Great information, working today laying granite sets as I’m in construction so if I have energy I will check out later.
I was going to power up the loom vis a remote 12v battery to check the loom is ok.
Indicators , horn , wipers , radio , stop lights all work . I’m therefore assuming power is making it from enginebay to front .
I have ordered a new light switch from Clark’s and new frunk seal . Hoping it’s the frunk connection (corrosion)
Then it’s cruising time :EMs Rule: :
Datsolow
Posts: 159
Joined: Fri Jul 17, 2015 1:41 am

Re: Rusty fuse box on 63

Post by Datsolow »

Lastly what is the round silver thing attached to the fuse holder for ?
Best regards Paul 🇬🇧🇬🇧
User avatar
bbodie52
Corvair of the Month
Posts: 11982
Joined: Mon Aug 06, 2012 12:33 pm
Location: Lake Chatuge Hayesville, NC
Contact:

Re: Rusty fuse box on 63

Post by bbodie52 »

:tongue: This is a term I had not heard before...
The term “loom” was commonly used in the aerospace and automotive industry half a century ago. A wiring loom, also known as a harness, wire harness, cable assembly, wiring assembly or wiring harness, is an assembly of wires which transmit signals or electrical power.

Incredible assemblers weave together hundreds of wires creating one large beautiful electrical tapestry. Therefore, a wire loom is a well-crafted work of art that InterConnect creates from multiple wires, contacts, and connectors weaved together and bound by braid or lacing tape.
WHY ARE WIRING HARNESSES SOMETIMES CALLED “LOOMS”?

:link: https://www.interconnect-wiring.com/blo ... led-looms/

Image

Image

Datsolow wrote:...Lastly what is the round silver thing attached to the fuse holder for ?
EM Corvair Fuse Block.jpg
Image

It is the turn signal flasher. It provides on/off cyclic switched power to the turn signal circuits, whenever the turn signals are activated and are drawing electrical current via a completed circuit. The hazard and turn signal lights found on the vast majority of road going vehicles are controlled by a flasher, which is commonly referred to as a relay. The flasher is an electrical component that serves as the switch that allows the lights to flash on and off.
What Is a Thermal Flasher?
A small round cylinder found in the fuse box of an automobile, the thermal flasher is an inexpensive part and is constructed in the following way:
  • An electrical contact allows the flow of electrical current into the flasher
  • This contact attaches to a curved piece of spring steel
  • Resistive wire wraps around another piece of spring steel
How It Works
Though it happens instantly, an elaborate process takes place inside of a thermal flasher. Activation of the thermal flasher takes place using the turn-signal bar or the hazard lights switch. Initiating the process leads to a series of reactions.
  • Pushing down or raising up the turn-signal bar on the car completes the circuit, sending current flow through the flasher to the bulbs in the turn-signal lights. Initially, the current flows only through the resistive wire and on to the signal bulbs without contact with the spring steel and contact. The current flow is so minimal that it is not enough to create a dim glow in the bulb.
  • The resistance to the current causes the spring steel to heat up, expand and make contact, which provides the necessary flow to light up the turn-signal bulb.
  • The spring steel cools off quickly, interrupting the current flow, and causing the turn-signal bulb to stop glowing.
  • Rapid heating and cooling taking place within the thermal flasher cause the turn-signal bulb to flash one or two times per second. The sound associated with the turn-signal is caused by the spring steel touching the contact as it expands and completes the circuit.
Image
:link: https://amperite.com/blog/automobile-thermal-flasher/
Brad Bodie
Lake Chatuge, North Carolina
Image 1966 Corvair Corsa Convertible
User avatar
bbodie52
Corvair of the Month
Posts: 11982
Joined: Mon Aug 06, 2012 12:33 pm
Location: Lake Chatuge Hayesville, NC
Contact:

Re: Rusty fuse box on 63

Post by bbodie52 »

By the way, the floor dimmer switch can wear out or develop problems with the internal contacts. I had one in my 1966 Corsa that caused ALL of my headlights to go off on a dark winding mountain road when I pressed the switch to turn on my high beam headlights! AT 50 MPH!!
:omgosh: :burnout:
:helpsos: Fortunately I was able to turn the lights on again by pressing the dimmer switch a second time. :woo:

So if power is getting from the main light switch to the dimmer switch on the floor, but is having trouble getting past the dimmer switch, it may need to be replaced. Note that sometimes it is not a problem with the switch itself, but a problem with the 3-prong plug that connects to the switch.

Image :link: https://ssl.corvair.com/user-cgi/catalo ... w_page=84B

Part number C457: DIMMER SWITCH

Weight: 0 lbs 4 oz
Catalog Page(s): 84B
Price: $ 18.10


Image
Brad Bodie
Lake Chatuge, North Carolina
Image 1966 Corvair Corsa Convertible
Datsolow
Posts: 159
Joined: Fri Jul 17, 2015 1:41 am

Re: Rusty fuse box on 63

Post by Datsolow »

Hi thanks again :tu: I’ve just placed an order for new light switch didn’t think of replacing the dimmer. Can I check the plug for power? If so can I jump across the pins to get the lamps to work ?
Update :
Tail & front lights (orange ) ones working. :tu:

Also number plate light working, just headlights :banghead:
User avatar
bbodie52
Corvair of the Month
Posts: 11982
Joined: Mon Aug 06, 2012 12:33 pm
Location: Lake Chatuge Hayesville, NC
Contact:

Re: Rusty fuse box on 63

Post by bbodie52 »

The main light switch is the source of power to the headlights, which then route to the dimmer switch, and on to the trunk multiconnector, and finally to the left pair of lights, which are jumpered by a sub harness over to the right side. The headlights are grounded directly to the body/chassis.

Power from the main light switch is routed to the dimmer switch, and always should pass through to the outer low beams. If the dimmer switch is toggled by the driver's foot to add the high beams, power is tapped to route to the additional inner front headlight bulbs. The wiring harness also simultaneously routes this power to the instrument panel high beam indicator bulb to indicate to the driver that the high beams are on.

Image


1963 Headlight Dimmer Wiring.jpg
Brad Bodie
Lake Chatuge, North Carolina
Image 1966 Corvair Corsa Convertible
Post Reply

Return to “Ask your Mechanical Questions here”