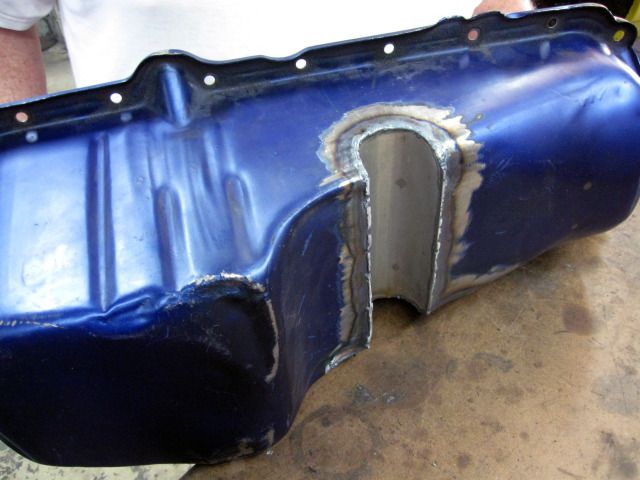
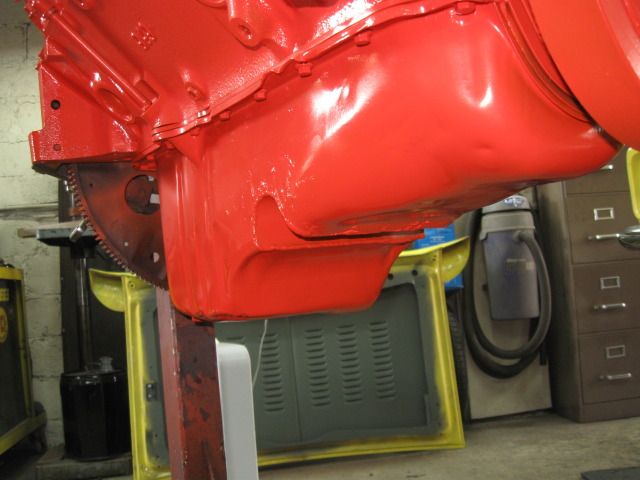
Well, the engine got put off for another week so I went to work on some of the other pieces.
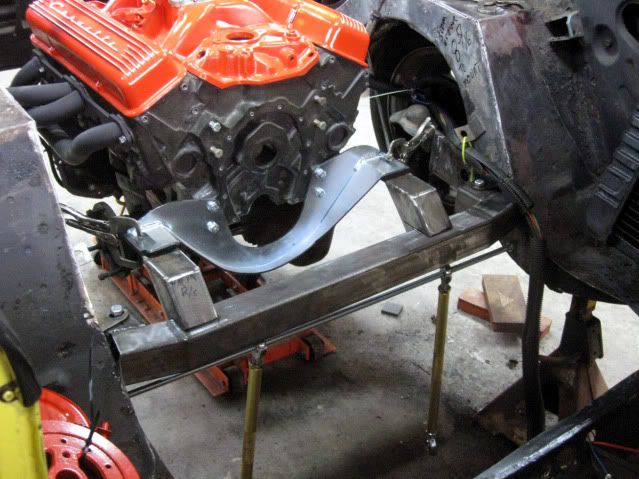
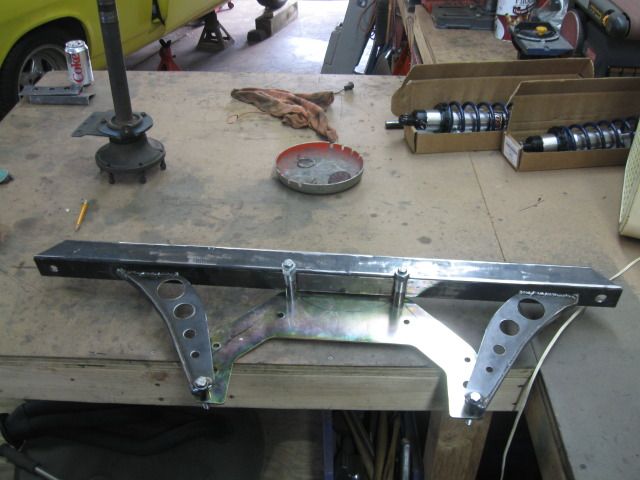
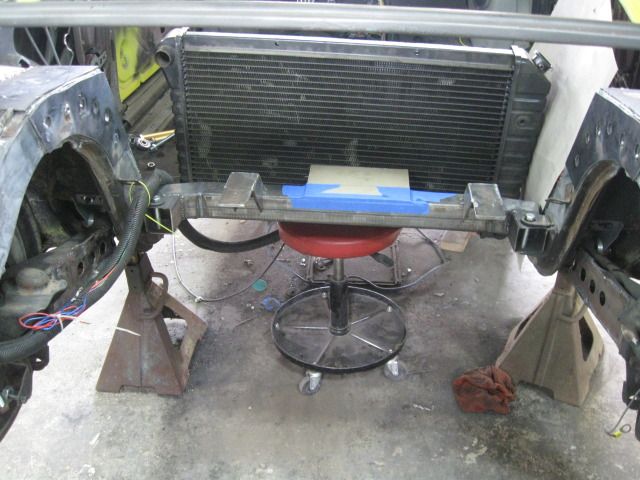
First was cleaning up the cross member and doing some final welding and dressing
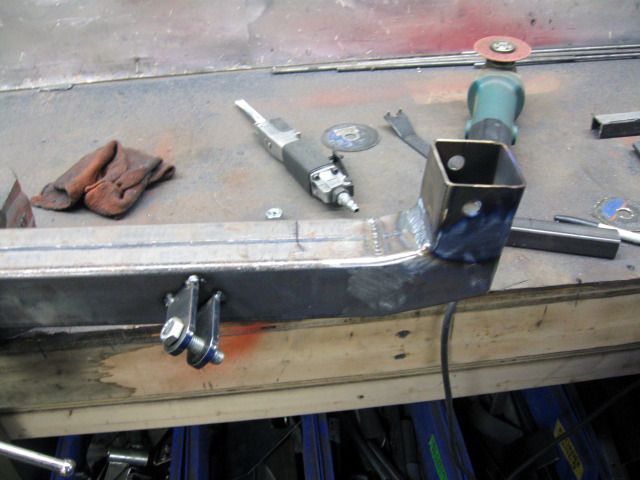
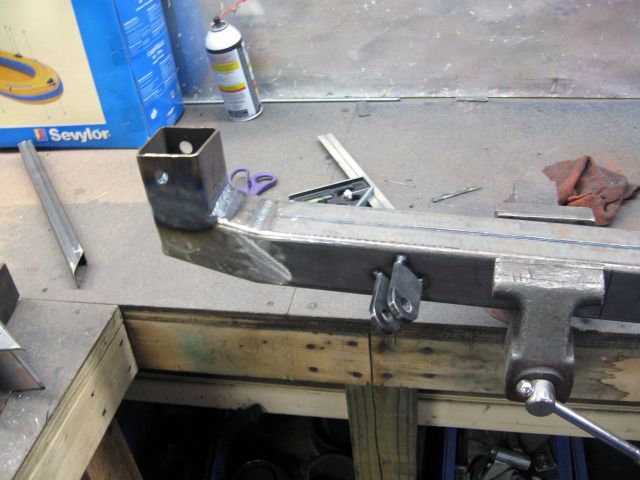
This will be the final time out of the car for the cross member. You can also see the placement of the control arm brackets for the trailing arms. They have yet to be gusseted and final welded but that should change in the next couple of hours.
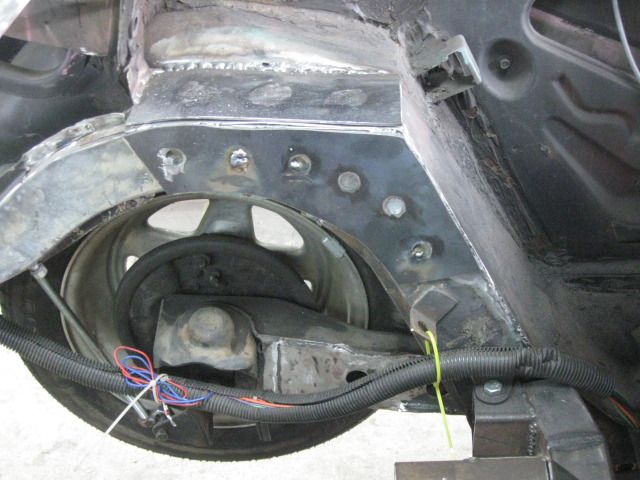
One of the guys on the board asked me a couple of questions regarding how the control arm attached to the trailing arms. We used a 1/2 bolt; removed the head and ground a 45 degree angle. after figuring out the correct lenght, we tacked the bolt to the trailing arm as you can see in this picture.
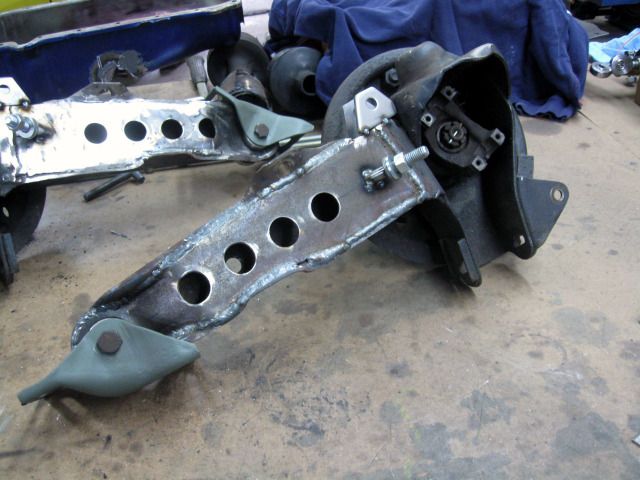
We will gusset this bolt from 3 sides when we do the final welding. Also visible is the tacked in place coil over mounts on top of the arm. These will also be gusseted and final welded.
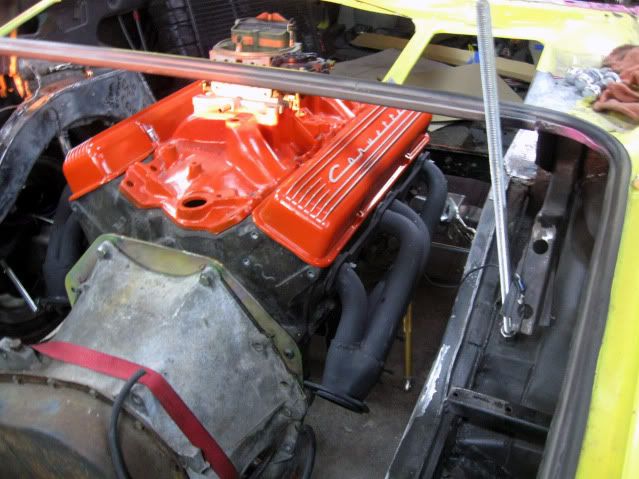
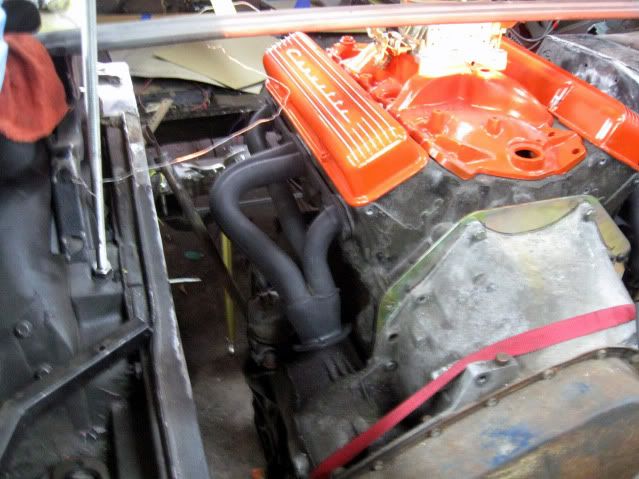
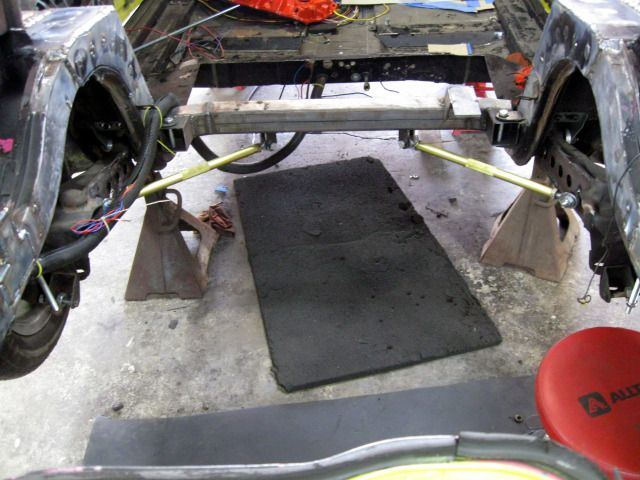
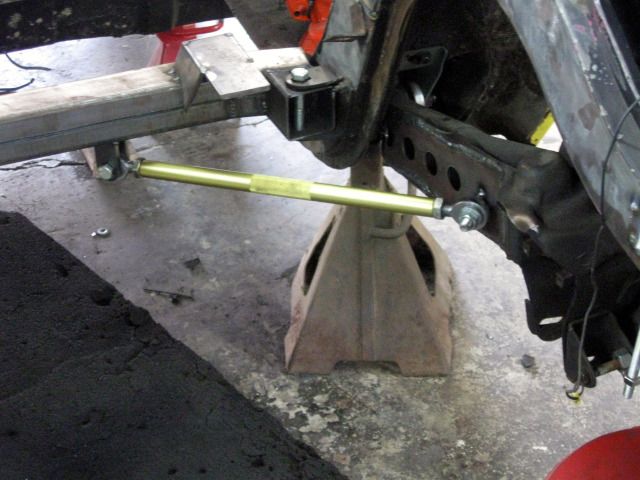
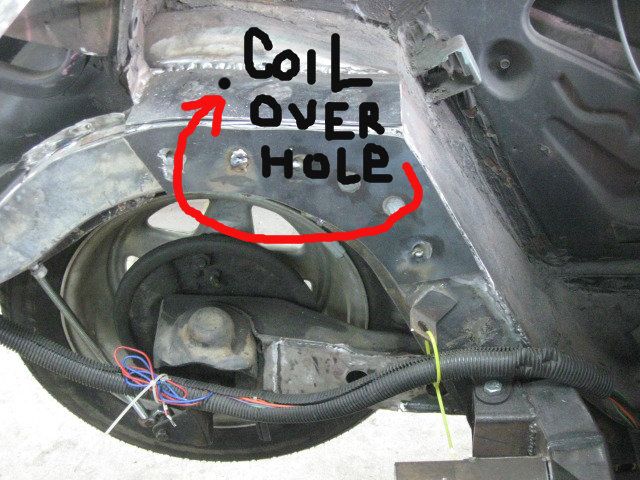
While I we were getting ready to tack the coil over mounts to the arm, I snapped this picture which shows where the coil over will live when we are done
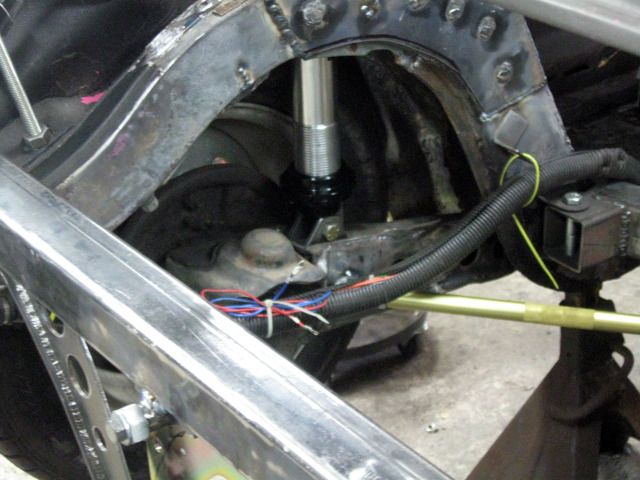
The top of the coil over is done with a stud which sticks through the are above the wheel.....not exact but you get the idea
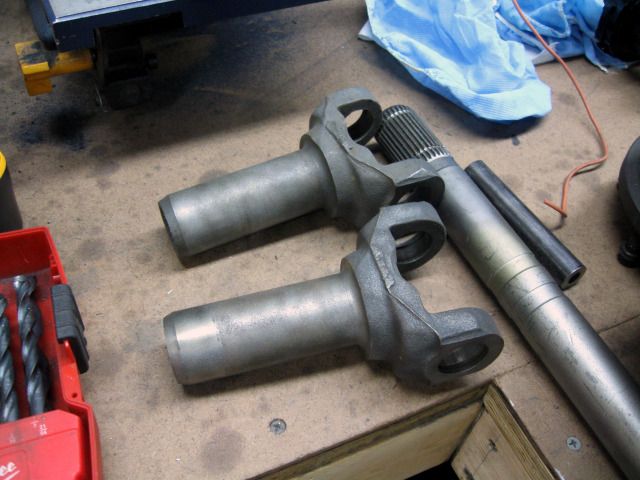
I looked a long time to find out how others have done their axles in these kind of conversions but had little luck. So my buddy Frank Jenkins and I decided to do our own engineering. I bought 2 axles for a 73 Eldorado. we knew they had to be shortened. After talking about the axles for a week or so, we decided to use Th350 output yokes. We found a machinist who is goig to turn down the axle shaft as well as shorten them. Then he is going to spline the axle shaft to be exactly like a turbo 350 output. We will give it about a 3 thousands oversize so the yokes are a heavy press fit. Here is what the axle and the yokes look like
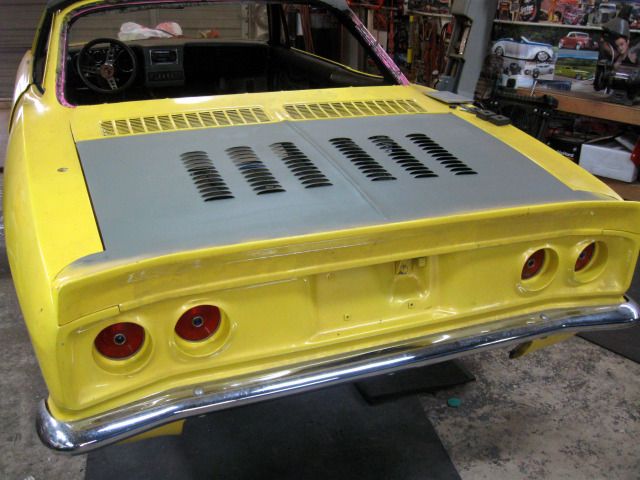
Since we got rid of a few pieces of rod holding the trailing arms in place, it was only natural to take a look at how the louvered trunk lid is going to look on the car............kind of liking this look

more news to follow this next week: