Part 5: Reload.
Wow. I've finally accomplished something again!
Since it's winter in Michigan and the heated garage is still another year away, nothing can happen right now but this weekend I am up north at my mom's house using the woodshop to make some progress on the package shelf.
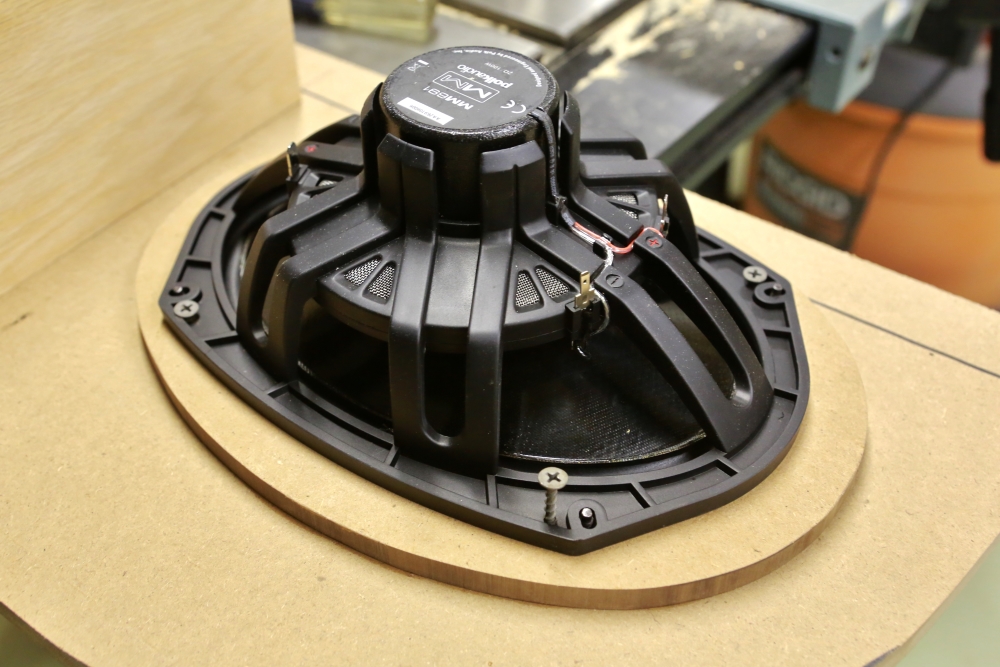
Some time ago we roughed out the shelf in MDF. Installing the speakers turned out to be far less simple than I had hoped. I bought a pair of Polk 6x9s and a pair of vintage metal grilles that came out of a Malibu or something like that. The studs on the grilles line up with the holes in the speaker frames, which you would think would be a good thing, and in the end it turned out to be. But there were a few other problems with using these grilles. First, they hole that they covered was a little smaller than a 6" x 9" oval. Second, the speakers I chose were designed for surface mount and the center-mounted mid/tweeter assembly sticks up above the mounting plane quite a bit. Finally, the studs on the grilles weren't long enough to go through the MDF and capture the speakers if a spacer was used to keep the mid/tweeter from hitting the grille.
So, some thinking was required.
I bought a couple of MDF 6x9 spacers I found on eBay. These were too thick for what I wanted, but they at least moved me in the right direction. So I used a sander to mill them down so that they would just keep the tweeter from hitting the speaker grille.
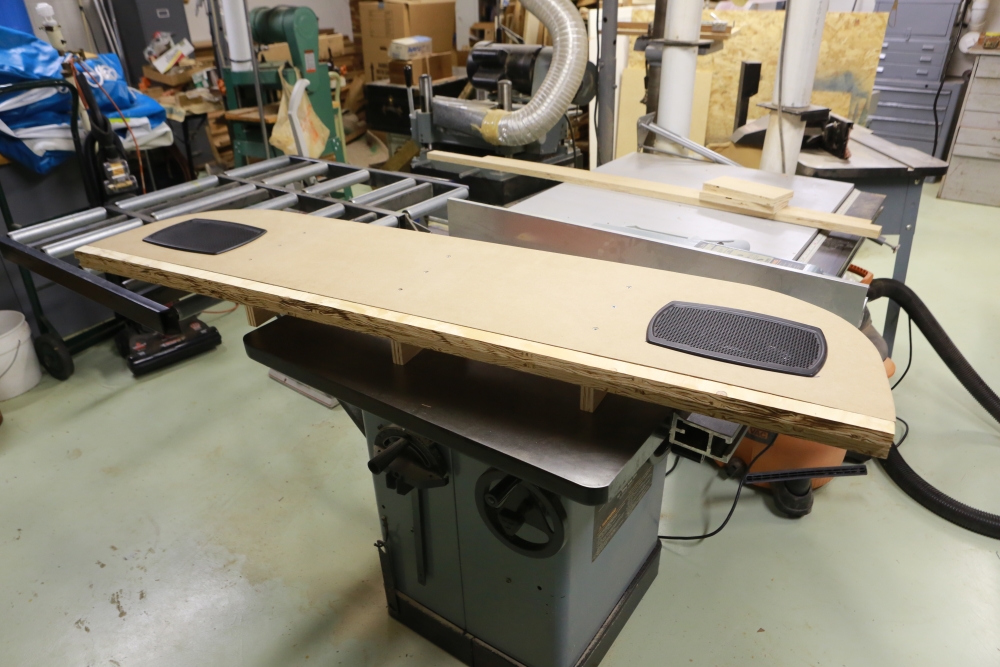
Once that was done, I glued these to the package shelf.
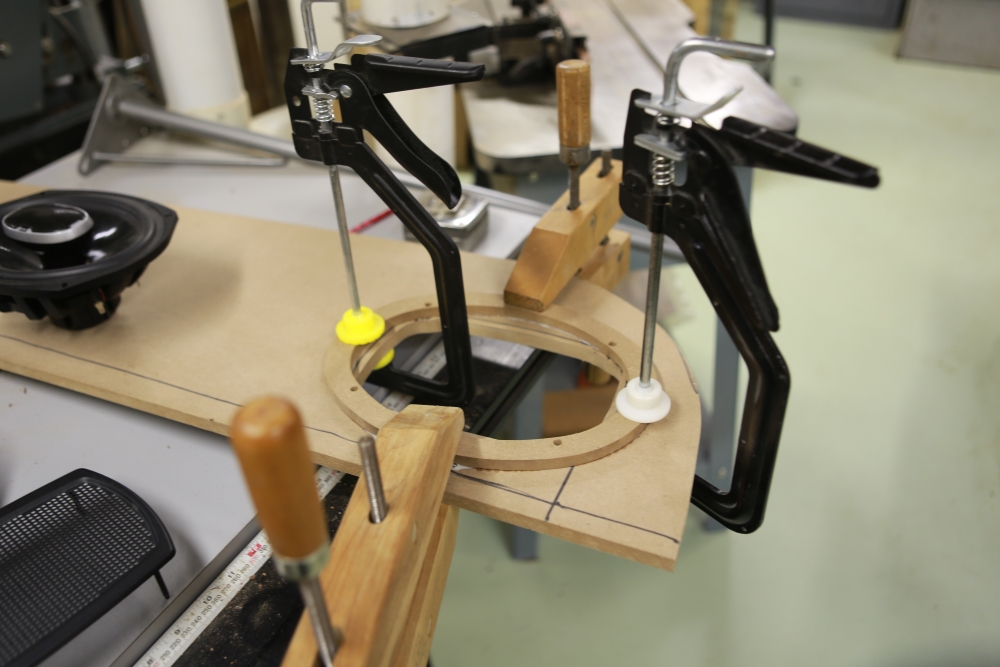
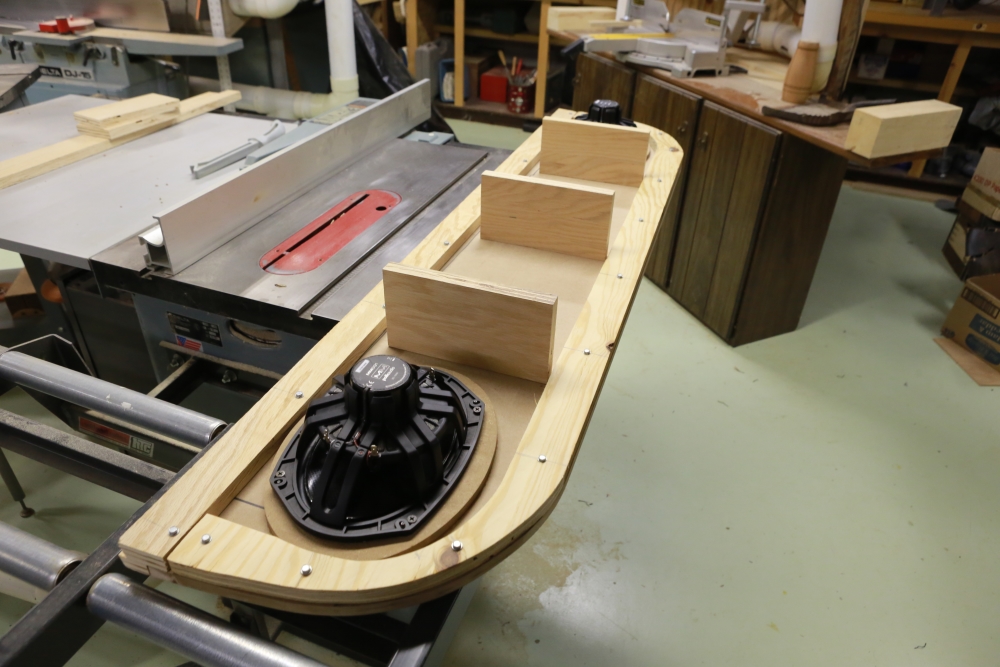
Another view of the clamping. You can also see the grille and speakers.
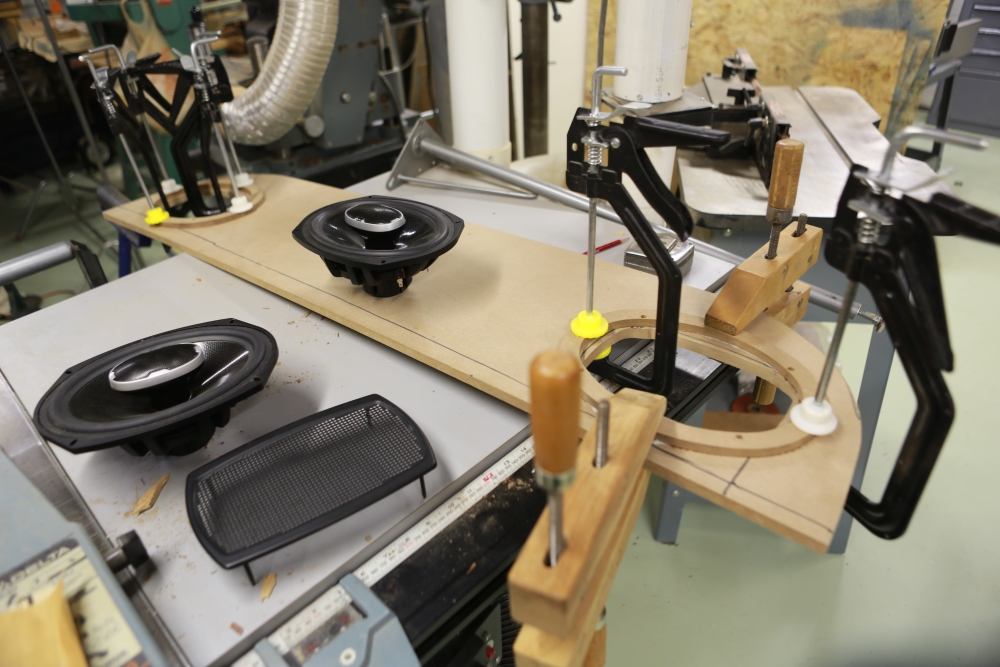
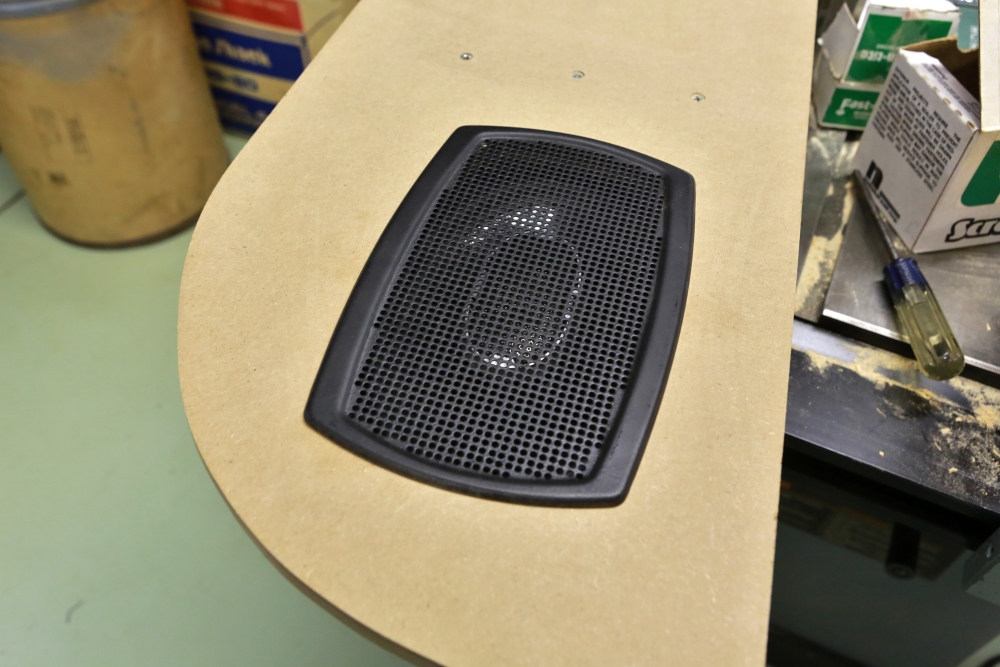
As you can see, the opening on the package shelf doesn't match the spacer because it fits within the edges of the grille. The spacer also gives room for the speaker cone to travel without interference.
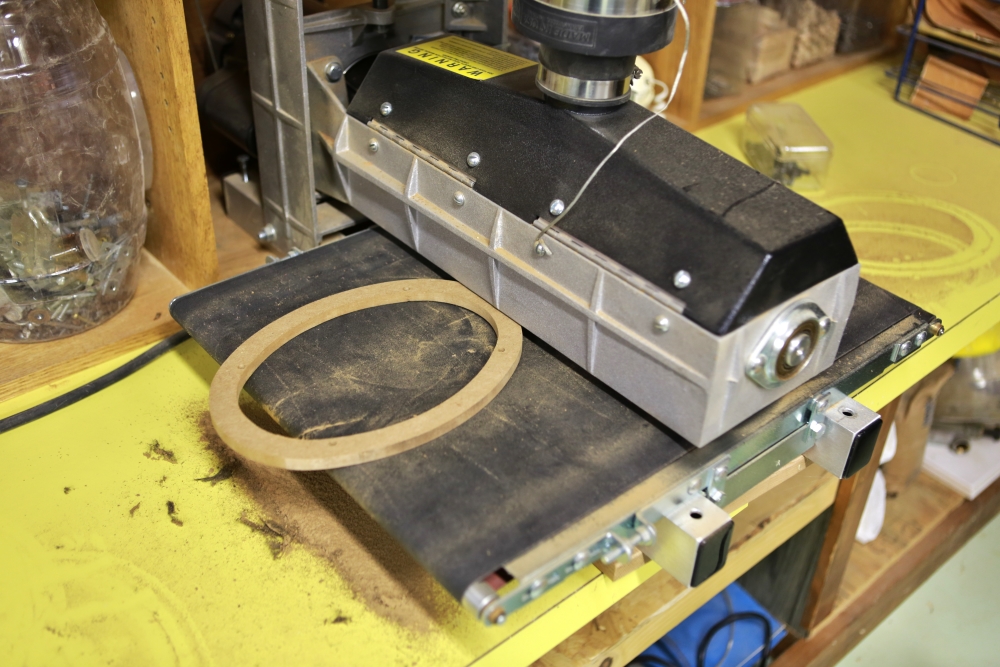
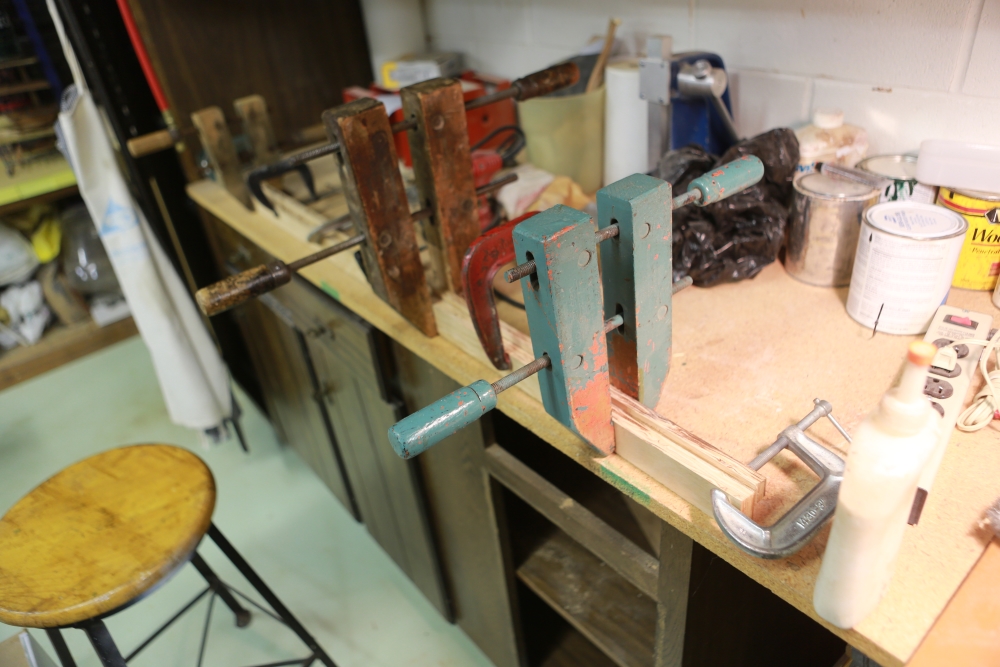
While the grille rings were clamped for gluing I worked on the trim that will go on the front edge of the shelf. The previous post showed the design for this part. The metal edge will probably be a piece of door threshold. I will cover this with thin foam and then cover that with stock vinyl. Instead of making it out of one piece of wood, I decided to use two pieces of plywood. The next picture shows the two pieces of plywood glued to together and clamped. The top piece had to be shaved down a bit in the sander. Hopefully I didn't shave it too far.
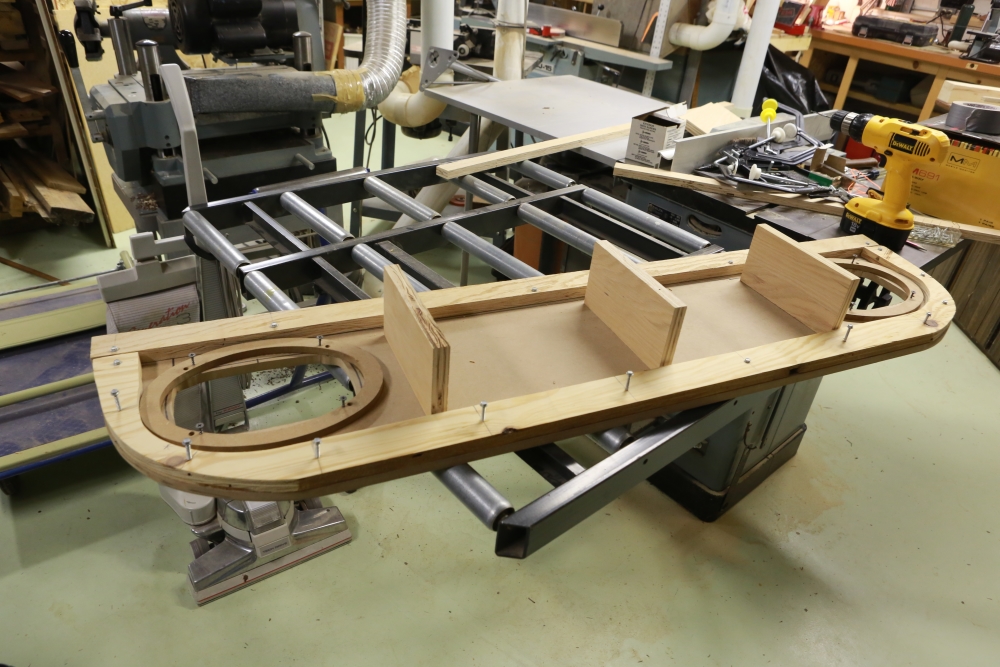
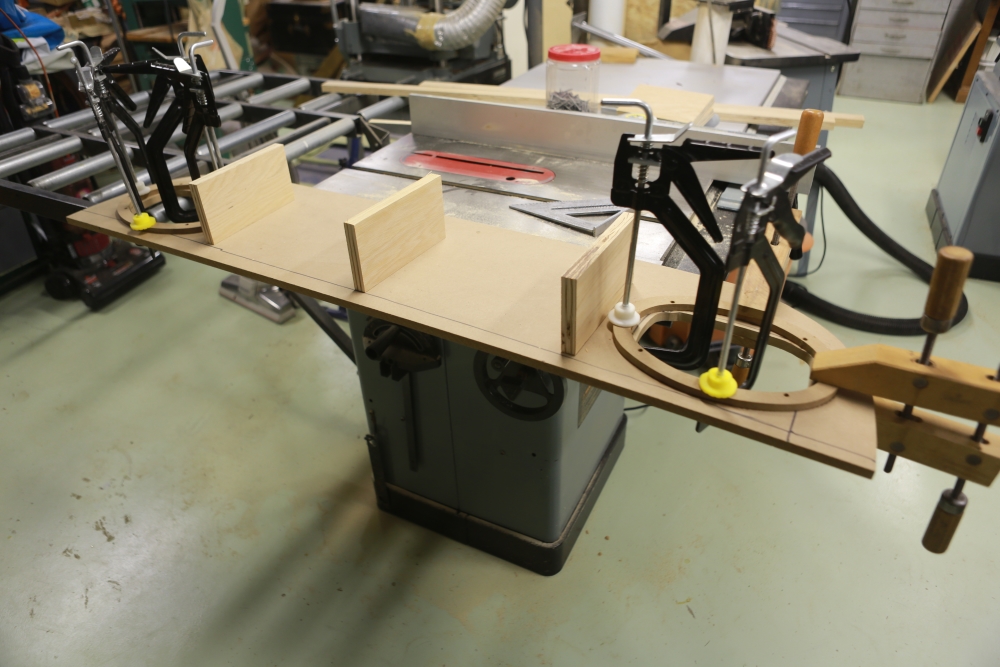
Next I worked on the supports for the shelf. These need to be tall enough to provide just a little clearance for the speaker magnets. They have to be inset from the front to allow for the transition piece and also have to be offset in back for the piece that will eventually be used to mount the Masonite panel I will use for the vertical panel that covers the space from the shelf to the bottom of the rear window.
I drilled nine countersunk holes to attach the standoffs. I will probably add a pair of outboard standoffs once I finish the part for the vertical panel.
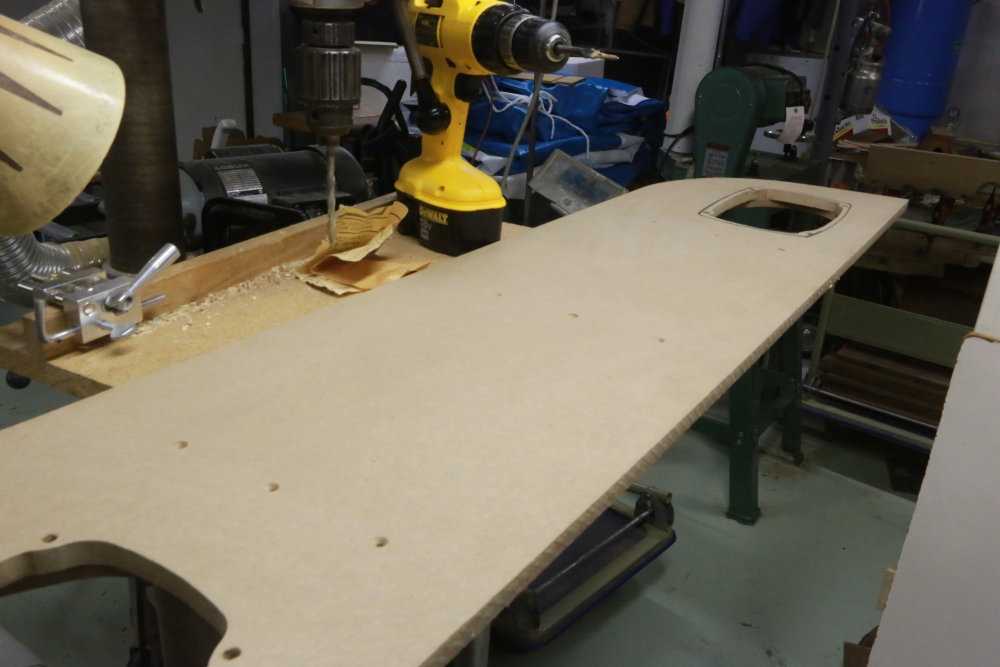
With the standoffs attached, the shelf stands quite solidly. I deliberately sunk the holes below the surface of the panel. These holes will then be filled with bondo and sanded smooth before the panel is finished. I'll eventually glue heavy-duty window screen to the panel and spray paint the whole thing semi-flat black. When done it should look very much like the package shelf in my '63 Olds Ninety-Eight.
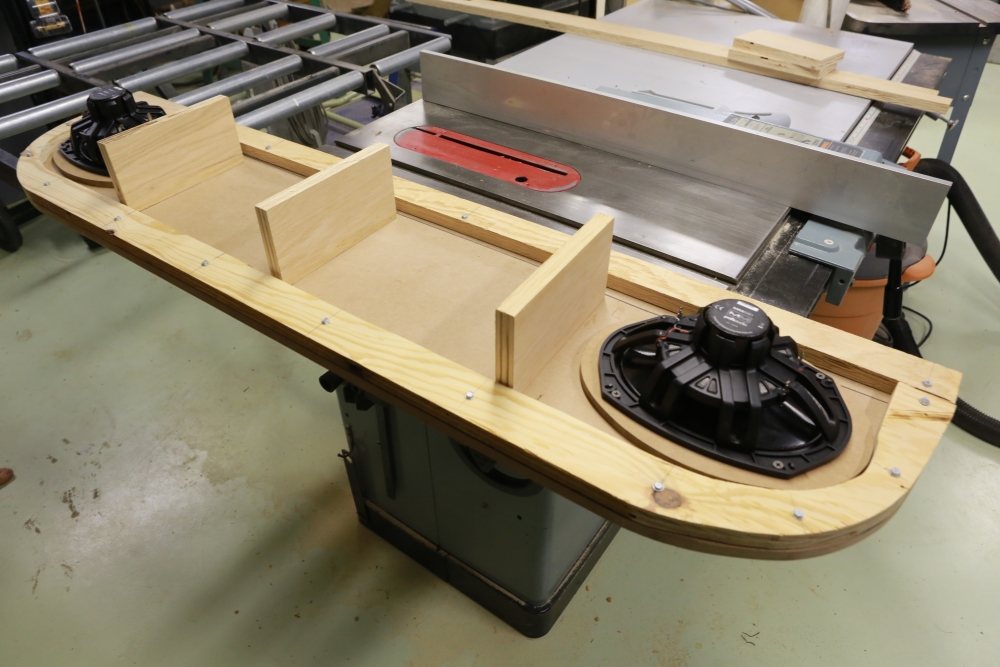
I solved the problem of how to attach the speakers by not using the original mounting holes. Instead I drilled four holes in the speaker frame next to the mounting holes and screwed them to the spacers.
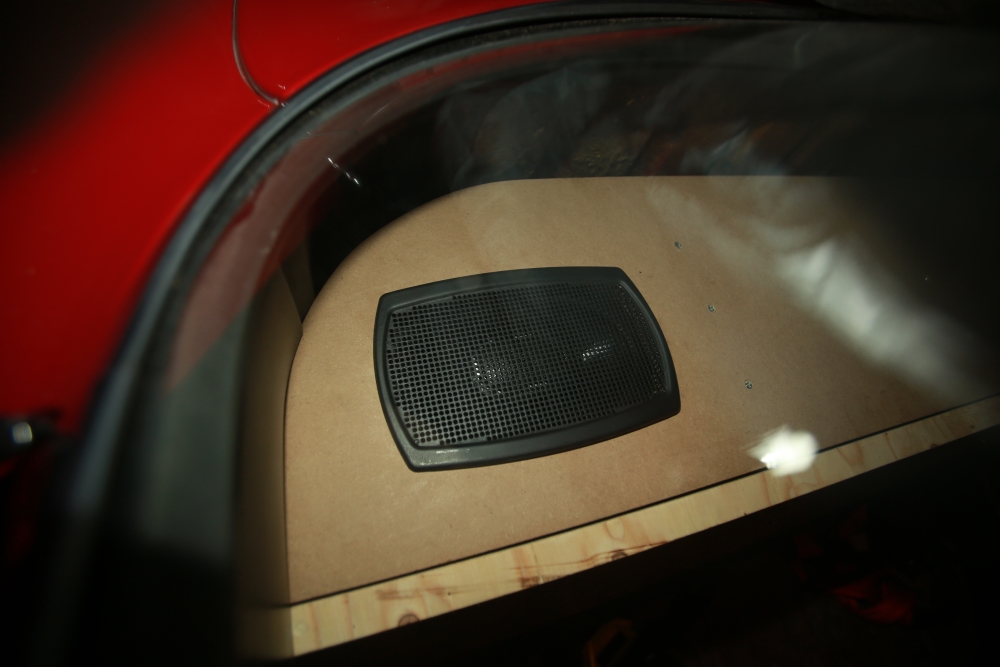
The speaker grilles will stay in place fairly firmly just by friction.
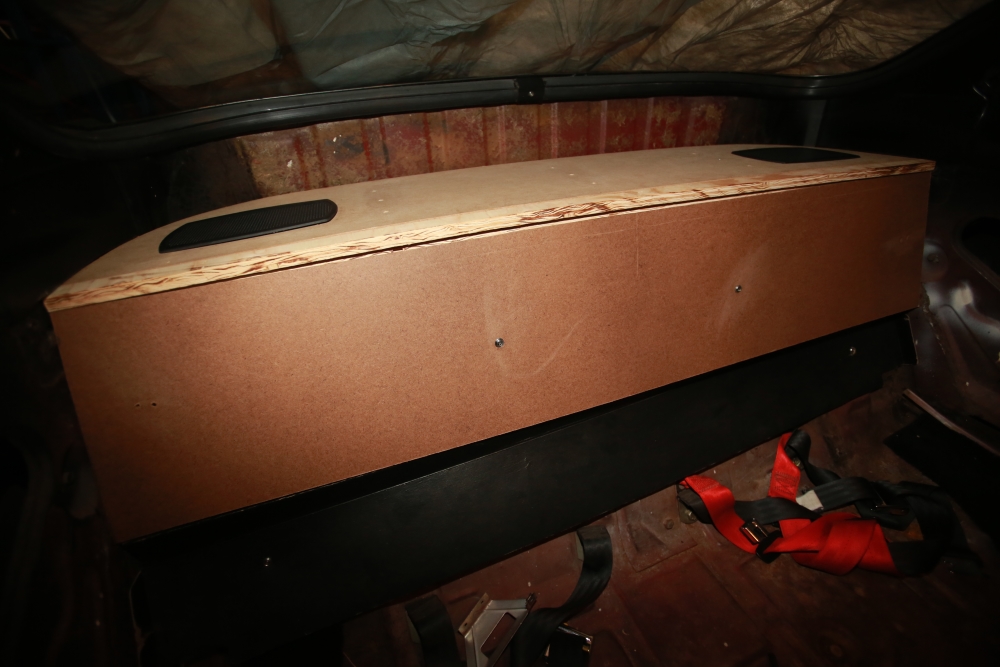
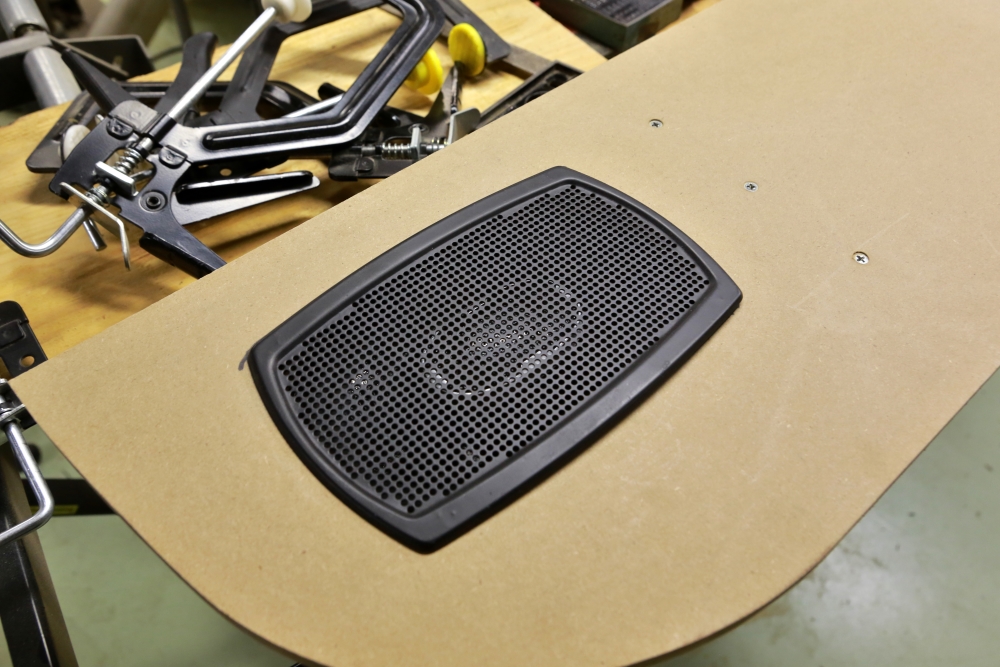
A view of the other speaker:
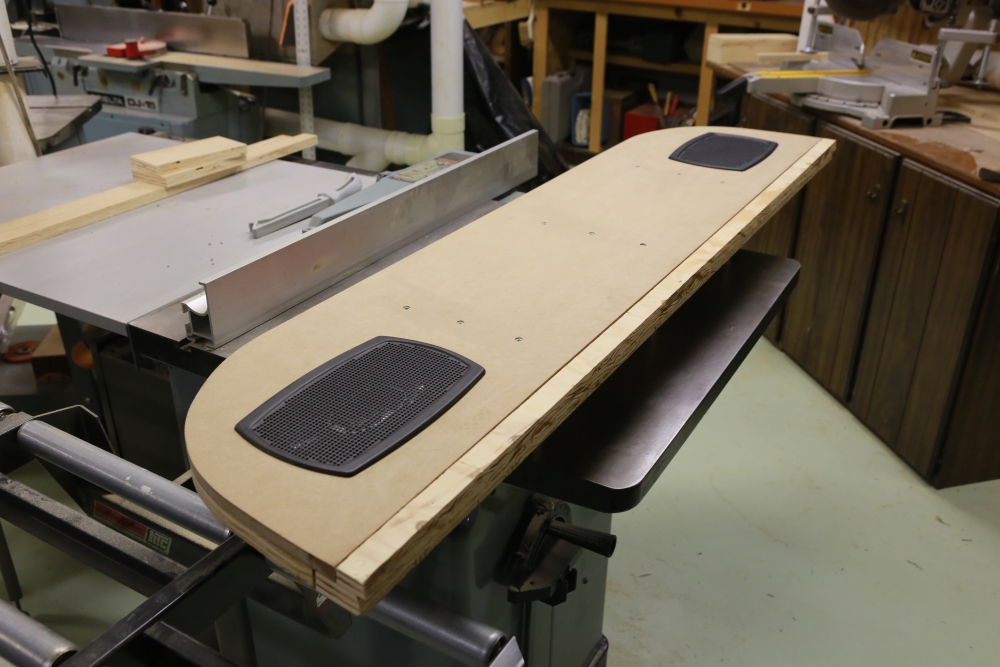
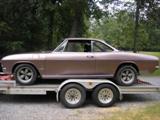
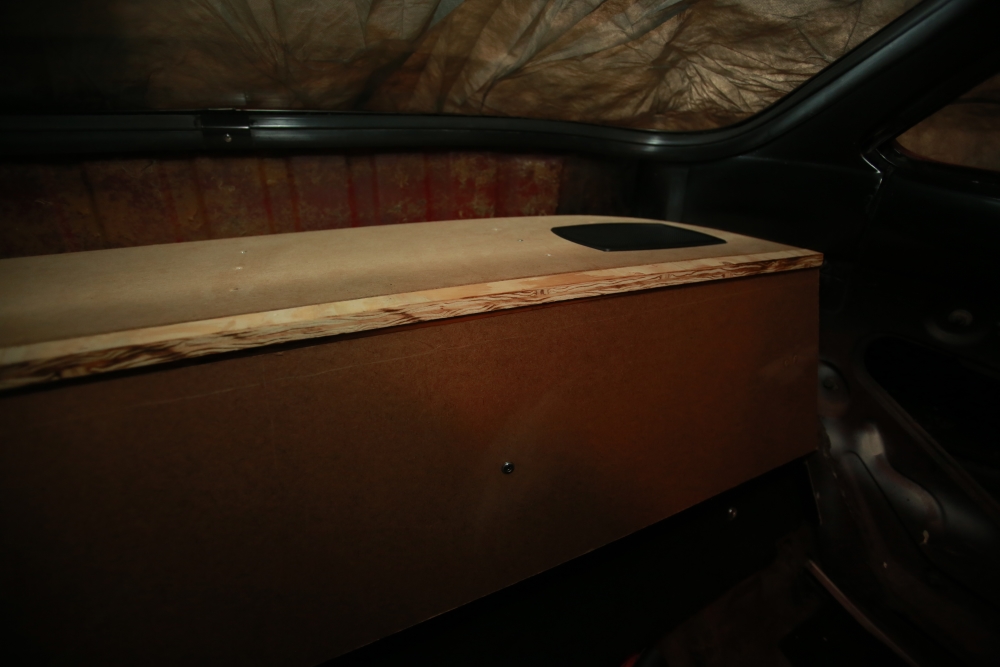
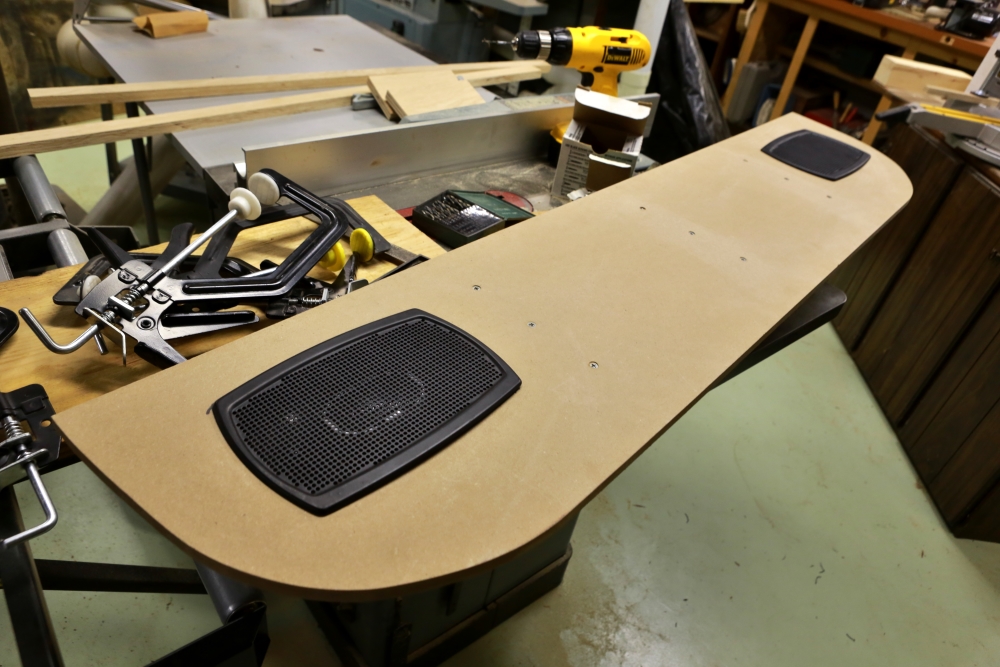
Here's the whole shelf:
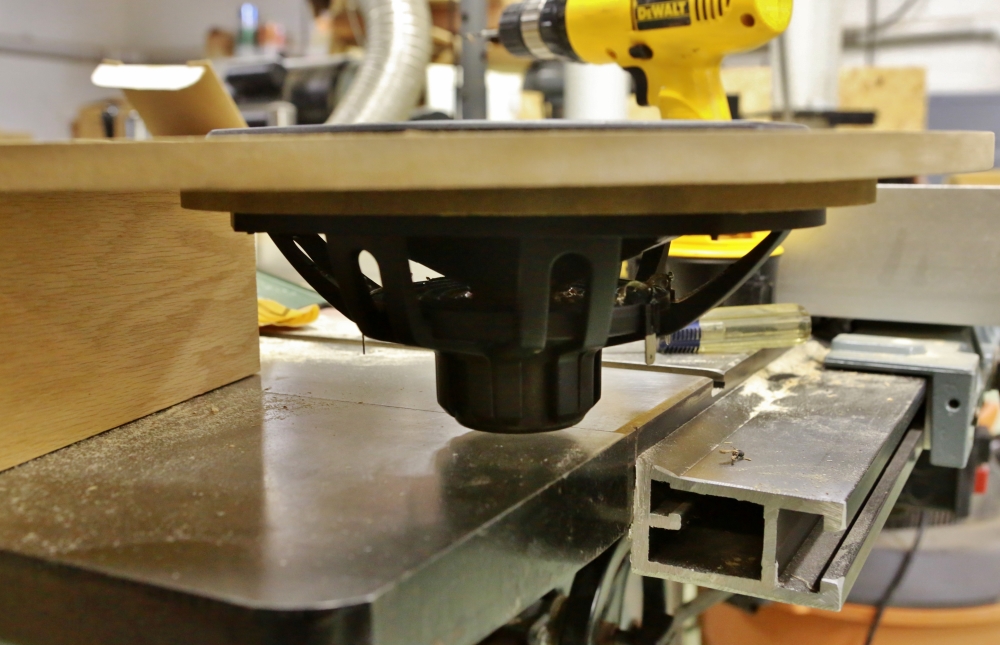
This photo shows how the speaker will clear the metal shelf below.
I will have to take the speakers off again to spray paint the inside of the openings and glue on the screen.
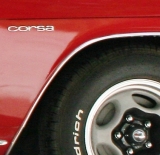


 1966 Corvair Corsa Convertible